

If you love the depth, sparkle, and resilience of granite stone, sealing it properly is the simplest way to keep it stain-resistant, easy to clean, and beautifully glossy for years. This step-by-step guide covers everything from when to seal and what sealer to pick, to precise application techniques for polished, honed, and leathered finishes. You’ll also find pro tips for white granite countertop selections, dark stones, high-traffic kitchens, and bathroom vanities—plus everyday care that protects your sealer.
Why Granite Needs Sealing (Even When It Looks “Non-Porous”)
Granite is a natural stone made of interlocking crystals (mostly quartz and feldspar) with tiny pores between grains—the result of its geology and composition as an igneous rock. These pores can absorb oil, wine, coffee, makeup, or soap, leading to dark spots or rings. A quality impregnating (penetrating) sealer fills those micro-spaces just below the surface without creating a plastic film. That’s why sealing:
- Increases stain resistance against oil- and water-based spills
- Makes daily cleaning faster on clean granite countertops
- Preserves color and the characteristics of granite (movement, mica sparkle)
- Reduces maintenance on busy, family kitchens that prefer low-maintenance natural stone
Curious about disinfection and sanitizing routines that won’t degrade your sealer? See:
Can you use Lysol® wipes on granite? · How to disinfect granite countertops · How to sanitize granite countertops daily · Daily routine—version 2
Do All Granites Need Sealing Equally?
No. Sealing frequency depends on color, finish, and specific quarry. As a rule:
- Dense, dark stones (many black granite countertops) often repel water longer and may need sealing less frequently.
- Light stones (many white granites) can be more absorbent and benefit from more regular sealing.
- Honed or leathered finishes generally need sealing more often than polished because they expose a bit more open pore structure.
- Wet zones—around sinks, dishwashers, and cooktops—get resealed sooner than islands and side runs.
The 1-Minute “Water Drop” Test
- Clean and fully dry a small spot.
- Place a teaspoon of water on the surface.
- Observe absorption/darkening:
- 1–5 minutes: time to reseal.
- 5–15 minutes: plan to seal soon.
- 30+ minutes/no change: you’re protected for now.
Choosing the Right Granite Sealer
Penetrating/Impregnating Sealer (Recommended)
- Soaks into pores and repels water and oil without altering the natural look.
- Available water-based (low odor, easy cleanup) or solvent-based (often deeper penetration—ventilate well).
Enhancing Impregnator (Optional)
- Deepens color and “pops” movement—popular on leathered or honed finishes.
- Permanent until resurfacing; always test in a hidden area.
Label checklist: “Safe for granite/natural stone,” oil and water repellency, dwell time, re-coat window, and cure time.
Pro handling tip: If you’re moving or re-installing heavy tops, don’t risk chips or stress cracks. Explore pro-grade rigging solutions at Toolrange.
Tools & Supplies
- pH-neutral stone cleaner + two microfiber cloths
- Painter’s tape to protect walls/wood
- Nitrile gloves; eye protection; fans for ventilation (especially for solvent formulas)
- Soft foam/sealant applicator pad or microfiber applicator towel
- Lint-free buffing towels (lots!)
- Your chosen granite sealer
How to Seal Granite (Step by Step)
1) Deep-Clean (and Let it Dry)
- Spray a pH-neutral stone cleaner; wipe thoroughly.
- Rinse with clean water; buff dry.
- Air-dry 30–60 minutes—moisture in pores blocks penetration.
2) Mask & Stage
- Tape edges under uppers, walls, wood trim, and faucets.
- Clear the deck—appliances, soap, décor—so you can move fast and evenly.
3) Test in a Hidden Area
- Apply per label to confirm no unwanted color change (unless using an enhancer intentionally).
- Check for residue ease: you should be able to buff to a crystal-clear finish.
4) Apply a Thin, Even Wet Coat
- Work in 2–3 ft sections.
- Spread enough sealer to wet the surface uniformly (no puddles).
- Massage into seams, edges, sink cutouts, and around cooktops.
- Keep the area visibly wet for the full dwell time (usually 5–15 minutes).
- If a spot dries, add a splash—drying quickly means that patch is more porous.
5) Remove ALL Excess Before It Dries
- Wipe with clean microfiber until the surface looks evenly dry.
- Buff with a second towel for a streak-free, mirror-clear finish.
- Any residue left behind can cure as haze—when in doubt, keep buffing.
6) Second Coat? (Often Yes)
- Many stones—especially white or honed/leathered—benefit from a second coat.
- Follow the re-coat window on your label (often 10–30 minutes after wipe-off).
- Wipe and buff again until completely residue-free.
7) Cure Time
- Light use after several hours is common; avoid spills for 24 hours.
- Full cure: 24–72 hours depending on product—check the label.
Special Tips for Different Kitchens & Baths
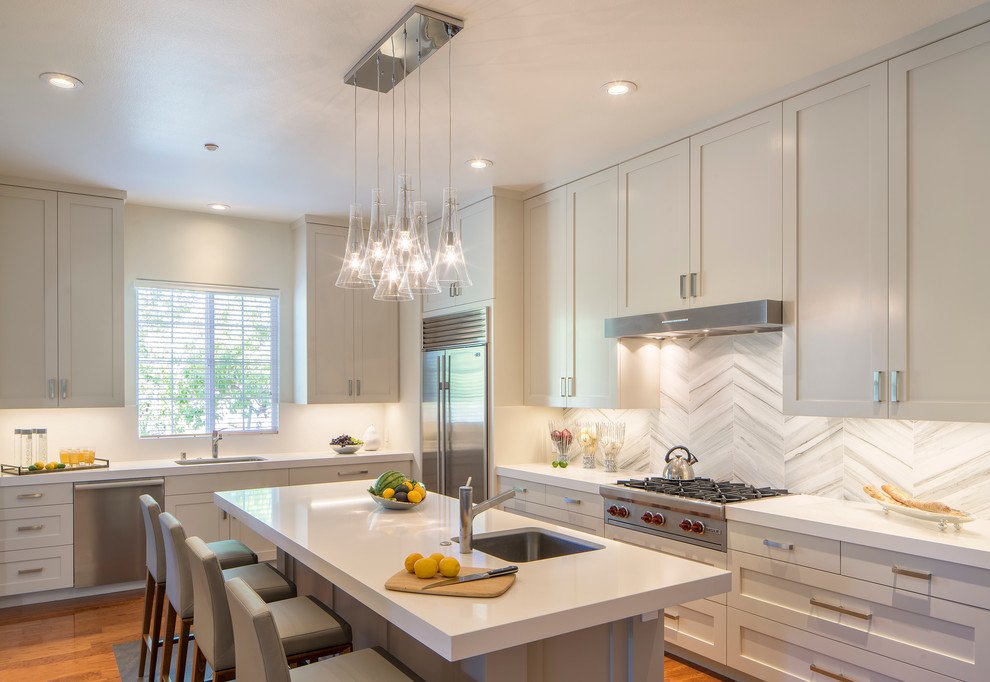
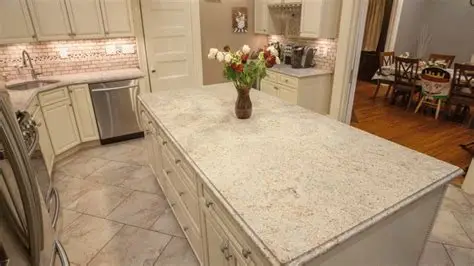
White vs. Black Granite Countertops
- White granites: prioritize sealers with strong oil repellency; give edges and sink rails extra passes.
- Black granites: some are extremely dense; still seal oil-prone zones, and always do the water test.
Polished vs. Honed/Leathered
- Polished: easiest to buff streak-free; residue shows quickly, so wipe thoroughly.
- Honed/Leathered: more absorbent; expect two coats minimum, sometimes three near sinks.
Kitchen Islands, Sinks & Cooktops
- Add a targeted extra coat at faucet bases, dish zones, and seam lines.
- Remember backsplash lips and window ledges—frequent splash areas.
Bathrooms & Vanities
- Perfumes, self-tanners, and oils can penetrate quickly. Wipe daily and seal a bit more often around sinks.
Daily Care That Protects Your Sealer
- Clean with a pH-neutral stone cleaner or mild dish soap solution.
- Rinse with water; buff dry to prevent water marks and soap film.
- For hygienic routines after handling raw foods, follow stone-safe disinfection: clean → water rinse → quick 70% isopropyl alcohol spritz (short dwell) → water wipe → dry buff.
- Guided routines: How to disinfect granite countertops and How to sanitize granite countertops daily (and the alternate daily routine).
Avoid: vinegar, bleach, ammonia, oven cleaner, and harsh degreasers that can degrade sealers and dull the finish.
Granite vs. Quartz vs. Marble (Maintenance Snapshot)
- Granite vs quartz countertops: Quartz (an engineered surface) usually doesn’t need sealing, whereas most granites benefit from it. Granite wins on natural variation and heat tolerance; quartz wins on uniformity and minimal maintenance.
- Granite vs marble: Marble is more prone to etching from acids; granite is generally tougher in busy kitchens.
- Granite vs soapstone: Soapstone is non-porous and requires no sealer, but it scratches more easily and is commonly oiled to deepen color.
- Natural stone countertop comparison: For natural vs. engineered granite style, granite offers unique veining and mineral sparkle impossible to mimic 1:1.
Cost & Value Considerations
Granite countertop cost varies by rarity, thickness, edge profile, and fabrication complexity. Sealing adds marginal cost but pays off in fewer stains, less professional restoration, and a consistently premium look. If you’re researching where to buy granite countertops or comparing wholesale granite suppliers for affordable granite countertop options, ask about:
- Factory pre-seal vs. sealing at installation
- Stone density/absorption test results
- Finish (polished vs. honed/leathered) and recommended sealing schedule
- Compatible cleaners and long-term maintenance plans
Troubleshooting: Streaks, Haze, and Stains
- Haze after sealing: You likely left residue on the surface. Re-wet with a small amount of the same sealer, then wipe and buff aggressively with fresh microfiber.
- Soap film/cloudiness: Use a stone-safe film remover; rinse and buff dry.
- Oil stain/dark spot: Apply an oil-stain stone poultice; once fully dry and lightened, reseal that area.
- Water rings: Usually trapped moisture; they fade as the stone dries. Improve ventilation and avoid covering areas that stay damp.
FAQs About Sealing Granite
How often should I reseal?
Use the water drop test every 3–6 months in splash zones. Many kitchens reseal annually; dense dark stones can go 2–3+ years.
Will sealing change the color or gloss?
A standard impregnator should not. Enhancing sealers intentionally deepen color—always test first.
Can I use disinfecting wipes?
Check chemistry first. Many household wipes contain acids or alkalis that degrade the sealer over time. See Can you use Lysol wipes on granite? for stone-safe guidance.
Can I seal bathroom vanities and shower benches?
Yes—just allow for full cure before heavy moisture exposure, and keep ventilation high.
Quick Reference: Perfect Sealing Day
- Clean (pH-neutral) → rinse → fully dry
- Mask edges; ventilate
- Test a hidden spot
- Thin, even application; keep wet for dwell time
- Wipe all excess; buff crystal-clear
- Repeat a second coat if needed
- Cure 24–72 hours before heavy use
Related Stone-Safe Guides
- Disinfection & Sanitizing:
How to disinfect granite countertops · How to sanitize granite countertops daily · Daily routine—version 2 - Professional handling & logistics:
Keep your slabs and finished tops safe during delivery and installs with purpose-built gear from Toolrange.
The Bottom Line
Sealing granite countertops isn’t complicated—you just need the right sealer, a controlled application, and thorough wipe-off. Do that, and you’ll preserve the natural beauty of your black and white granite countertops, keep cleanup a breeze, and protect your investment whether you’re staging a showpiece island or building a hard-working family kitchen.