
A chipped granite countertop can be a real “oh no” moment. Granite is famous for being durable and luxurious, so seeing a chunk missing from an edge or corner feels like a disaster.
The good news is:
In most cases, you can fix a chip in granite so well that it’s hard to see in everyday use.
Unlike soft rocks like shale, which flake and crumble under stress, granite stone is dense, crystalline, and refinishable. With the right products and a careful process, repairing chips in granite is usually much cheaper than replacing the entire countertop.
In this guide, you’ll learn:
- Why granite chips (and why shale is never used as a countertop)
- How granite’s geology and composition affect repair
- A step-by-step method for how to fix a chip in granite at home
- How polishing and sealing fit into long-term care
- How repaired granite compares to quartz, marble, soapstone, and concrete
- When to call a pro or upgrade using Aardwolf granite products
For more detail after this article, you can dive into:
- How to restore granite countertops
- How to refinish granite countertops
- How to repair chipped granite
- Can Granite Countertops Be Refinished? (a key question we’ll touch on)
Granite Stone vs Shale: Why Granite Can Be Repaired
Granite geology and composition
Granite is an intrusive igneous rock, formed when magma cools slowly deep beneath the Earth’s crust. This slow cooling creates big, interlocking mineral crystals:
- Quartz – very hard, highly scratch-resistant
- Feldspar – provides much of the white, cream, grey, or pink body color
- Mica & accessory minerals – add dark flecks, veining, and subtle sparkle
These minerals give the core characteristics of granite that matter in your kitchen:
- Excellent durability and compressive strength
- Superb heat resistance
- Slight natural porosity (you manage this with sealing granite)
- Ability to be ground, filled, and polished again and again
Why shale doesn’t belong on your countertop
Shale is a sedimentary rock made of compacted mud and clay. It:
- Breaks into thin, brittle layers
- Weathers and crumbles easily
- Has very low strength compared to granite
In a natural stone countertop comparison, shale isn’t even in the race. It simply can’t handle daily kitchen use. Granite, by contrast, is strong enough that when it does chip, you can typically repair it instead of replacing it.
Step 1: Assess the Damage Before You Fix a Chip in Granite
Before you grab a repair kit, take a close look at your granite.
Ask yourself:
- How big is the chip?
- Tiny pits and small edge bites are perfect for DIY.
- Large chunks or broken corners may need a professional.
- Where is the chip located?
- Front edges, corners, and around sink cutouts are the usual suspects.
- Damage near seams, supports, or undermount sinks might indicate structural issues.
- Is your countertop natural or engineered?
- This guide focuses on natural granite, not quartz.
- In a natural vs. engineered granite context, natural granite can often be filled and refinished more forgivingly.
If you see long cracks radiating from the chipped area or movement when you press lightly, stop and call a stone professional. Otherwise, DIY repairing chips in granite is usually safe and effective.
Step 2: Gather Tools & Materials for Granite Chip Repair
To fix a chip in granite, you’ll typically need:
- Stone-safe cleaner or mild dish soap
- Isopropyl alcohol (for final degreasing)
- Painter’s tape (to mask the surrounding granite stone)
- A clear or tinted epoxy or acrylic repair kit designed for stone
- Mixing tray and sticks
- Small applicator (toothpick, craft stick, tiny spatula, or plastic blade)
- Razor blade (if recommended by your kit)
- Soft microfiber cloths
- Optional: small polishing pads for final blending
For very visible areas on a white granite countertop or black granite countertops, consider a tinted repair kit that can better mimic your stone’s color and pattern.
Step 3: Clean Granite Countertops Thoroughly
You cannot successfully fix a chip in granite if the area is dirty or greasy.
- Wash the area
Use warm water and mild dish soap or a stone-safe cleaner to remove oils, food, and residue. - Rinse and dry
Wipe with clean water and dry with a microfiber cloth. - Degrease with alcohol
Lightly wipe the chipped area with isopropyl alcohol to remove any remaining oils. Let it air dry.
If your chip is near a sink or where hard water builds up, deal with any film first:
- See how to restore granite countertops for deeper cleaning tips and build-up removal.
Starting with clean granite countertops ensures the epoxy bonds properly and lasts.
Step 4: Mask the Area Around the Chip
Next, protect the rest of your granite stone:
- Use painter’s tape around the chip, leaving only the damaged spot exposed.
- Follow the natural lines of your edge profile—especially important on decorative edges.
Masking saves you from scraping hardened epoxy off the polished surface later and keeps your repair tidy.
Step 5: Mix and Apply the Granite Repair Filler
Now it’s time to actually fix the chip in granite.
Mix the filler
- Follow your kit’s directions precisely.
- Combine resin and hardener in the recommended ratio.
- If tints are included, add micro-drops and mix thoroughly until you get a close color match.
Remember: it doesn’t have to be perfect—granite’s speckled pattern hides minor mismatches well.
Fill the chip
- Apply slowly
Use a small applicator to push the filler deep into the chip. Avoid air pockets. - Slightly overfill
It’s better to have the repair slightly proud (raised) above the surrounding surface—you’ll level it later. - Shape the surface
While the epoxy is still workable, roughly match the original edge or corner profile. - Clean the tape
Wipe any accidental smears off the tape before curing. - Let it cure
Leave the repair untouched for the full cure time listed in the instructions (often several hours or overnight).
Once cured, your granite edge will be structurally sound again.
Step 6: Level, Polish and Blend the Repaired Area
When the filler is fully cured:
- Remove the tape carefully.
- Trim any high spots with a razor blade, if recommended by your kit. Pull the blade gently across the filler—never dig into the surrounding granite.
- Lightly polish with fine polishing pads or a soft cloth, blending the sheen of the repair with the rest of the countertop.
For broader surface wear or multiple repairs, consider a more complete refresh:
This blending step is key to keeping the eye focused on the overall countertop—not the repaired chip.
Step 7: Seal Granite After Chip Repair
Once the repair is done and the surface looks smooth, it’s a perfect time to revisit sealing granite.
- Clean and dry the entire counter.
- Apply a penetrating stone sealer evenly with a soft cloth.
- Let it soak in for the recommended time.
- Wipe off excess and buff dry.
Sealer helps reduce the risk of removing stains from granite later (think oil, wine, coffee) and improves day-to-day cleanup.
Long-Term Care: Restoring and Refinishing Granite Countertops
A chip repair often goes hand-in-hand with a broader refresh. Over time, even high-end granite vs quartz countertops can lose a bit of luster. The good news is, granite can be:
- Deep-cleaned
- Honed to remove small scratches or etching
- Fully re-polished for a like-new finish
To explore the bigger picture, check:
- How to restore granite countertops
- How to refinish granite countertops
- How to repair chipped granite
- And the key question: Can Granite Countertops Be Refinished?
The answer is yes—refinishing is one of granite’s biggest advantages compared to some other countertop materials.
Design & Value: Making Repaired Granite Look Premium
Even with a repaired chip, your countertop can still be a design centerpiece.
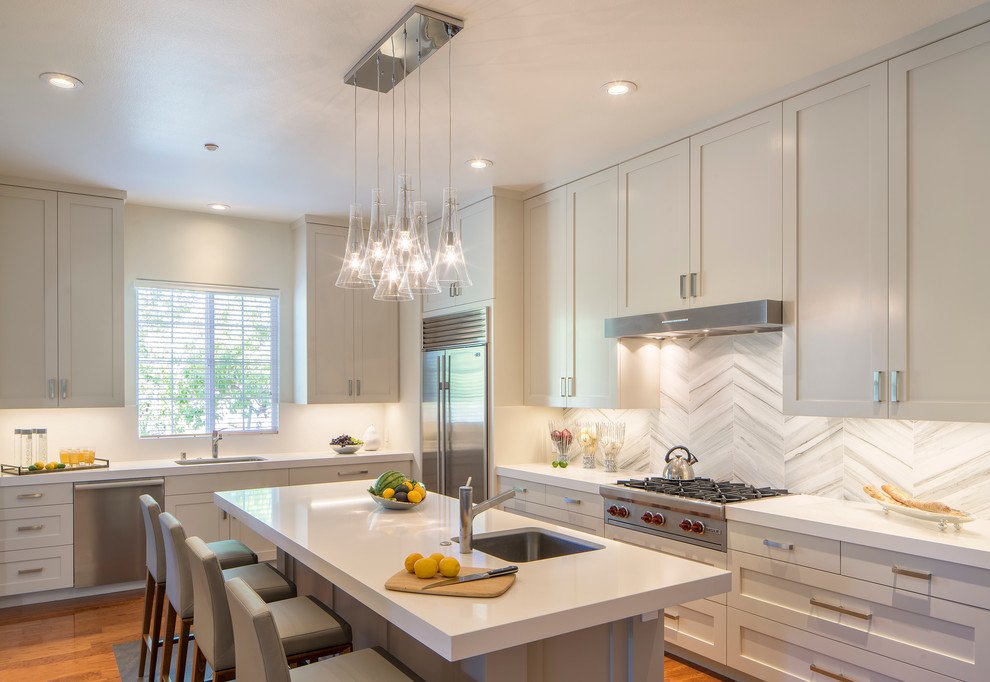
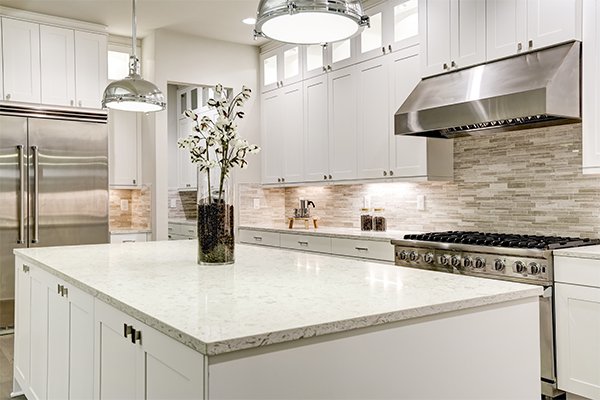
- On a white granite countertop, small, well-blended repairs often vanish into the pattern.
- On black granite countertops, clear or dark-tinted epoxy plus careful polishing can make repairs nearly invisible in normal lighting.
You can further elevate the look with:
- Thoughtful granite backsplash designs (full-height slabs, tile + stone combos)
- Smart pairing granite with cabinet colors, aligning warm stones with warm woods and cool stones with greys, whites, or blues
When done well, the overall space draws attention—not the spot you had to fix.
Granite vs Other Materials After Damage: Quartz, Marble, Soapstone & Concrete
A chipped edge might make you wonder if you chose the right material. In many cases, it confirms you did.
Granite vs quartz countertops
- Granite: natural, heat-resistant, repairable, and refinishable.
- Quartz: engineered, non-porous, stain-resistant, but resins are more sensitive to high heat.
When both chip, granite’s natural structure often makes blending repairs easier in the long run.
Granite vs marble: pros and cons
- Marble is softer, more prone to etching and scratching, and can be more demanding in busy kitchens.
- Granite is harder and more forgiving, making chip repair less likely and easier to manage when it happens.
Granite vs soapstone durability
- Soapstone is non-porous but soft—scratches and dents more easily.
- Granite offers better scratch resistance and keeps its polish longer.
Granite better than concrete countertops
- Concrete countertops can crack, chip, and must be meticulously sealed.
- Granite is naturally dense and strong, easier to maintain, and often easier to repair—another point in favor of granite in a natural stone countertop comparison.
When to Call a Pro or Upgrade with Aardwolf Granite
DIY is great for small chips. But if you have:
- Large missing chunks
- Structural cracks
- Major layout changes in mind
…it might be time for a professional stone restoration or even a partial upgrade.
This is where the Aardwolf granite countertop collection and services come in:
- Aardwolf premium granite slabs are selected for strength and beautiful patterns.
- The range includes many of the best Aardwolf granite colors, from subtle neutrals to bold veined showpieces.
- Aardwolf granite installation services provide expert templating, fabrication, seam placement, and support.
- The Aardwolf granite pricing guide helps you understand costs clearly, compare options, and align them with your budget.
That way, you can combine smart repairs with strategic upgrades instead of feeling forced into a full replacement.
Final Thoughts: Fixing a Chip in Granite Is Usually Easy and Worth It
A chip doesn’t mean your granite has failed—it just means life happened in a busy kitchen or bathroom.
To recap how to fix a chip in granite:
- Assess the chip’s size, location, and severity.
- Clean and degrease the area thoroughly.
- Mask the surrounding stone with painter’s tape.
- Mix a stone-safe epoxy or filler and carefully fill the chip.
- Let it cure completely, then level and polish the repair.
- Reseal the countertop to protect against future stains and wear.