
Installing a marble slab floor is one of the most elegant ways to elevate the look of your home or commercial space. Whether you’re using white marble slabs, bold black marble, or luxurious Calacatta, marble flooring adds long-lasting value, unique design appeal, and timeless charm.
In this complete guide, we’ll walk you through the process of installing marble slab flooring—preparation, placement, sealing, and finishing—while also addressing relevant topics like marble slab thickness, maintenance, and cost.
Why Choose Marble Slabs for Flooring?
Unlike standard tiles, full-size marble slabs for flooring provide a seamless, high-end finish with fewer grout lines and a more dramatic look. From kitchens to grand entryways, they offer durability, natural patterns, and heat resistance that outperform many synthetic options.
Benefits of Marble Slab Flooring:
- Premium aesthetics and unique veining
- Cool underfoot—perfect for warm climates
- High resale value
- Long-term durability with proper care
Learn more about slab characteristics in: What Is a Marble Slab?

Tools & Materials Needed
To begin your marble slab floor installation, gather the following tools and materials:
- Marble slabs (cut to fit the area)
- Thin-set mortar or tile adhesive (white preferred)
- Notched trowel
- Wet saw or diamond blade cutter
- Level and chalk line
- Spacers
- Rubber mallet
- Grout (non-sanded for narrow joints)
- Marble sealer
- Bucket and sponge
- Knee pads, gloves, eye protection
Step-by-Step: How to Install Marble Slab Floor
Step 1: Measure the Floor Area
Calculate the square footage and factor in marble slab size, pattern layout, and any cuts needed around walls, cabinets, or fixtures. Add 10% extra for waste or breakage.
Tip: Layout dry-fit slabs to preview your pattern and ensure color/vein continuity.
Step 2: Prepare the Subfloor
- The subfloor must be clean, level, and dry.
- Use a self-leveling compound if necessary.
- Remove dust, grease, and old adhesive using mild cleaners.
A properly prepared base prevents cracking and ensures lasting adhesion.
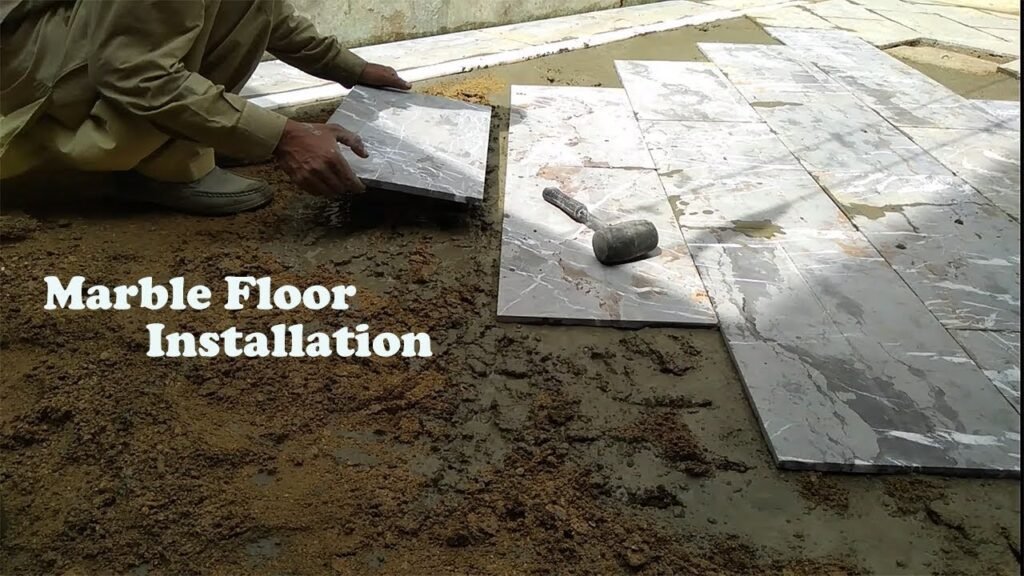
Step 3: Apply Mortar and Set the Slab
- Mix white thin-set mortar (grey can discolor light marble).
- Apply with a notched trowel in small workable sections.
- Back-butter the slab for better bonding.
- Carefully lower and press each marble slab into place.
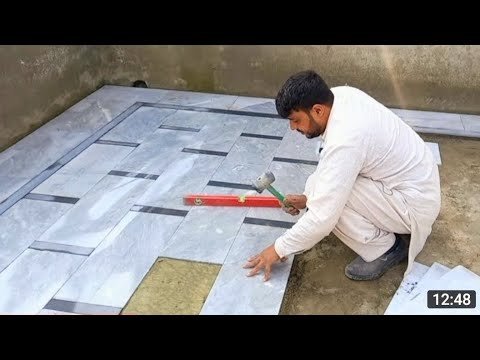
- Use a level to align and a rubber mallet to tap for full contact.
- Leave even joints using spacers (if desired).
Step 4: Cut Slabs as Needed
Use a wet saw with a diamond blade to cut marble cleanly and minimize chipping. Always wear safety gear.
Need help cutting? Read:
👉 How to Drill a Hole in Marble Slab
👉 How to Install Marble Slab on Wall
Step 5: Let Mortar Cure
Allow the installed slabs to set undisturbed for 24–48 hours before grouting.
Step 6: Grouting and Sealing
- Use non-sanded grout for narrow joints.
- Spread grout evenly using a float.
- Wipe off excess with a damp sponge before it hardens.
- Once dry, apply marble slab sealer to protect the surface from stains and moisture.
Maintenance Tips for Marble Slab Floors
- Use pH-neutral cleaners (avoid vinegar or acidic solutions).
- Reseal every 6–12 months, especially in high-traffic areas.
- Buff occasionally to maintain shine.
- Use mats or rugs in entryways to reduce wear and tear.
Marble Slab Floor: Considerations & FAQs
How Thick Should a Marble Slab Be for Flooring?
Standard flooring slabs range from 2 cm (¾”) to 3 cm (1¼”). Thicker slabs are more durable but heavier, impacting installation costs.
How Heavy Are Marble Slabs?
A typical marble slab weight ranges from 13–17 lbs per square foot depending on thickness and type. Use appropriate lifting equipment and transport methods.
What’s the Cost of Installing Marble Slab Flooring?
- Marble slab cost ranges from $40–$150+ per sq. ft. (material only).
- Labor and installation fees can add $10–$30 per sq. ft.
- Exotic slabs like Italian marble or Calacatta cost significantly more.
Best Places to Install Marble Slab Floors
- Kitchens: Pairs beautifully with marble slab countertops
- Bathrooms: Waterproof when sealed; use honed finish for slip resistance
- Entryways and Living Areas: Creates an elegant first impression
- Commercial Spaces: Ideal for hotels, lobbies, and showrooms
Tips to Avoid Common Mistakes
- Don’t use dark adhesive with light marble—it may stain through.
- Don’t skip sealing; marble is naturally porous.
- Avoid uneven subfloors which lead to cracking and lifting.
- Don’t use sanded grout with thin seams—it scratches the stone.
Conclusion
Installing a marble slab floor is a high-end upgrade that combines classic style with natural stone durability. By following these step-by-step instructions and using the right materials, you can achieve a professional finish that lasts for decades.
From measuring and cutting to sealing and maintenance, each step contributes to the long-term performance and beauty of your investment.