
Over time, even the most beautiful granite countertops can lose their sparkle. Daily cooking, spills, harsh cleaners, hard water, and simple wear can leave your surfaces looking:
- Dull instead of glossy
- Cloudy around sinks and stoves
- Marked with stains, etching, or rings
- Chipped along edges and corners
The good news? You usually don’t need to replace your countertops. With the right approach, you can restore granite countertops and bring them back to a deep, luxurious shine.
This guide walks you through:
- How granite stone behaves and why it loses its shine
- A complete step-by-step restoration process
- How to handle stains, chips, and dullness
- Design and material comparisons (granite vs quartz, marble, soapstone, concrete)
- Cost, buying tips, and Aardwolf granite solutions
Understanding Granite Stone Before You Restore It
Before you start, it helps to understand what makes granite so special—and how that affects restoration.
Granite geology and composition
Granite is an intrusive igneous rock, formed when molten magma cools slowly deep underground. This slow cooling creates large, visible crystals of:
- Quartz – very hard, contributes scratch resistance
- Feldspar – often white, cream, or pink; sets the overall tone
- Mica & accessory minerals – add dark flecks, shimmer, and unique character
These minerals define the core characteristics of granite:
- High hardness and durability
- Excellent heat resistance
- Slight porosity (important for sealing)
- Ability to take a very high polish
Because of its crystalline structure, granite is tough—but not indestructible. It can still stain, dull, or chip, which is why restoration matters.
Natural vs. engineered granite
In modern homes you’ll find:
- Natural granite stone
- Quarried as solid rock
- Slightly porous; needs sealing
- Unique, one-of-a-kind patterns
- Engineered stone (quartz) that looks like granite
- Made from crushed stone and resins
- Non-porous; no sealing required
- Very consistent patterns and colors
This article focuses on restoring natural granite countertops, though some cleaning tips overlap with engineered materials.
Step 1: Deep-Clean for Truly Clean Granite Countertops
You cannot restore granite over a film of grease, soap, or mineral deposits. Deep cleaning is always step one.
How to deep-clean granite safely
- Clear the surface
Remove appliances, décor, drying racks—everything. - Dust and dry-wipe
Use a dry microfiber cloth to sweep up crumbs and grit without scratching. - Wash with a pH-neutral cleaner
- Mix warm water with a small amount of mild dish soap or
- Use a cleaner specifically labeled safe for granite/natural stone.
- Rinse thoroughly
Wipe again with clean water to remove any soap residue. - Dry completely
Buff with a clean, dry microfiber towel. Proper drying helps you spot remaining stains, etching, and dull patches.
If you see cloudy buildup or a filmy look—especially in bathrooms or near sinks—it may be soap residue. For those areas, use this focused guide:
How to remove soap scum from granite
Once the stone is truly clean, you’ll see what actual damage or staining needs treatment.
Step 2: Removing Stains from Granite (Before You Polish)
You always want to handle removing stains from granite before you polish or seal, or you risk locking in discoloration.
Identify your stain type
Common granite stains include:
- Brown or yellowish rings/spots – coffee, tea, wine, or other organic spills
- Dark greasy patches – cooking oil, butter, cosmetics
- Colored lines or scribbles – ink or permanent marker
- Foggy, white-ish patches – soap scum or hard water deposits
Different stains need different solutions. Use these targeted resources:
- Coffee and dark drink stains:
How to remove coffee stains from granite - Superglue or adhesive accidents:
How to remove superglue from granite - Marker and ink mishaps:
How to get Sharpie off granite - Soap film and shower residue:
How to remove soap scum from granite
Most deep stains are treated using a poultice (a paste that pulls contaminants out of the stone). Stubborn stains may require several applications, but the effort pays off—your polish will look more even, and the stone will appear years younger.
Step 3: Repairing Chips in Granite Edges and Corners
Once stains are under control, inspect for physical damage. Repairing chips in granite makes a huge difference in both look and feel.
DIY chip repair (for small chips and pits)
For tiny chips along edges or corners:
- Clean and dry the chipped area thoroughly.
- Use a clear or color-matched stone epoxy kit.
- Carefully fill the chip until level with the surface.
- Allow the epoxy to fully cure (follow product directions).
- If instructions permit, very lightly sand or razor-shave any excess, then buff.
Small repairs are especially effective on heavily used edges—around sinks, dishwashers, or breakfast bars.
When to call a professional
Get a stone fabricator or restoration pro involved if:
- Chips are large, deep, or clustered
- Cracks extend into the field of the countertop
- Damage occurs near seams or major cut-outs (sink, cooktop)
A professional can blend repairs and re-polish so damage virtually disappears.
Step 4: Polishing Granite Surfaces to Bring Back the Shine
Now we move to the satisfying part of how to restore granite countertops—getting that rich, reflective shine back.
Light polishing at home
If your granite is structurally sound and mostly just dull:
- Choose a granite-specific polish or polishing cream (never generic wax or furniture polish).
- Apply in a thin, even coat according to the product instructions.
- Buff with a clean microfiber cloth in overlapping circles until you see a uniform sheen.
This works very well on:
- Slightly tired white granite countertops that look flat
- Black granite countertops that have lost depth and reflectivity
Professional honing and polishing
For more serious issues—heavy etching, widespread light scratches, very uneven shine—professional stone restoration may be needed. Pros use diamond abrasives and water (honing and polishing) to remove a tiny layer of stone and restore a factory-like finish.
It’s often worth it for:
- High-end kitchens
- Commercial or high-traffic installations
- Older tops that have seen years of incorrect cleaning
Step 5: Sealing Granite for Long-Term Protection
Once your granite is clean, repaired, and polished, you must protect it. Granite is slightly porous, so sealing granite is non-negotiable if you want to keep it looking great.
Why sealing matters (porosity and stains)
As a natural stone, granite has microscopic pores between its mineral crystals. That’s why topics like Is Granite Porous? and Is Granite Non-Porous? matter—unsealed stone can absorb liquids and stain more easily. Sealer:
- Reduces absorption
- Buys you more time to wipe spills
- Helps prevent deep stains and etching
For a deeper understanding of porosity and stain behavior, see:
- Is Granite Porous?
- Does Granite Stain?
- Is Granite Non-Porous?
How to seal granite countertops
- Test first – Place a few drops of water on the surface and wait 10–15 minutes. If the stone darkens, it’s time to reseal.
- Clean and dry – Ensure the surface is spotless and completely dry.
- Apply sealer – Use a soft cloth or sealer applicator and work in sections.
- Let it soak – Allow the sealer to penetrate as directed on the label.
- Wipe off excess – Buff away any remaining sealer with a clean, dry cloth.
- Cure time – Avoid heavy use and water until the sealer has fully cured.
After sealing, everyday maintenance is much easier, and your restored finish will last significantly longer.
Granite in Context: Comparing Materials and Design Options
Restoring your countertops is also a great moment to step back and see where granite stands among other materials—and how it fits into your overall design.
Natural stone countertop comparison
- Granite vs quartz countertops
- Granite: natural, unique, heat-resistant, slightly porous (needs sealing)
- Quartz: engineered, non-porous, no sealing, less tolerant of direct high heat
- Granite vs marble: pros and cons
- Marble: softer, more porous, prone to etching and staining
- Granite: harder, more forgiving in everyday kitchens
- Granite vs soapstone durability
- Soapstone: dense and stain-resistant, but scratches and dents more easily
- Granite: better scratch resistance, holds a polished finish longer
- Granite better than concrete countertops?
- Concrete: very porous, heavily dependent on sealers, can crack
- Granite: naturally dense and strong, easier to maintain once properly sealed
This is why granite often comes out on top in a natural stone countertop comparison—it’s one of the best balances of beauty, performance, and long-term value.
Color, backsplash, and cabinet pairing
Your newly restored granite will pop even more with thoughtful design choices:
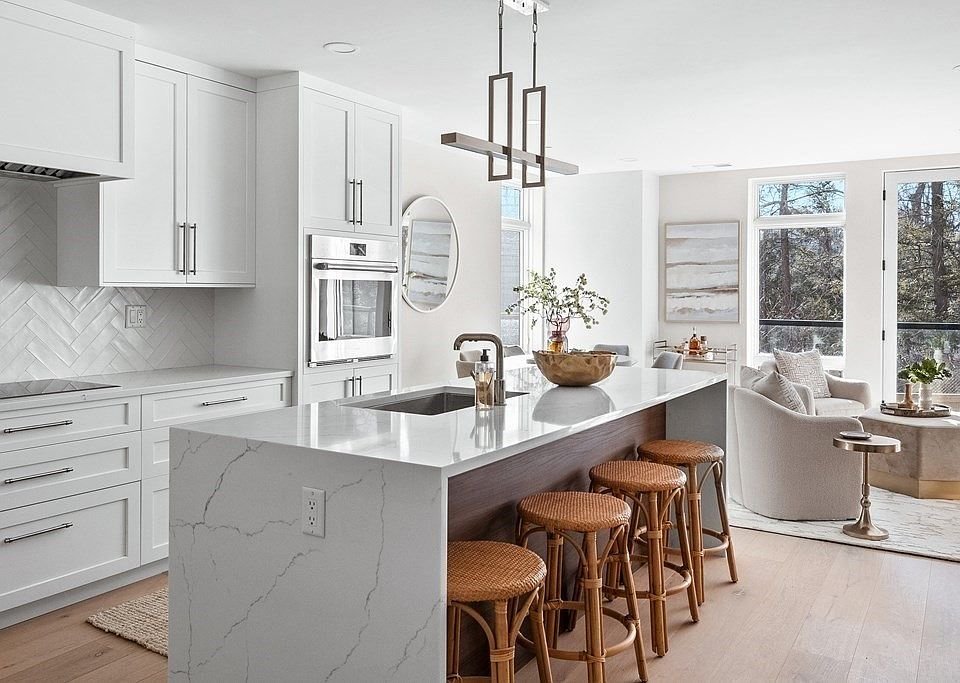
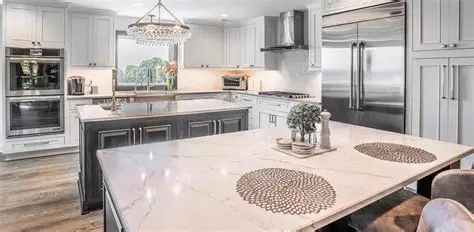
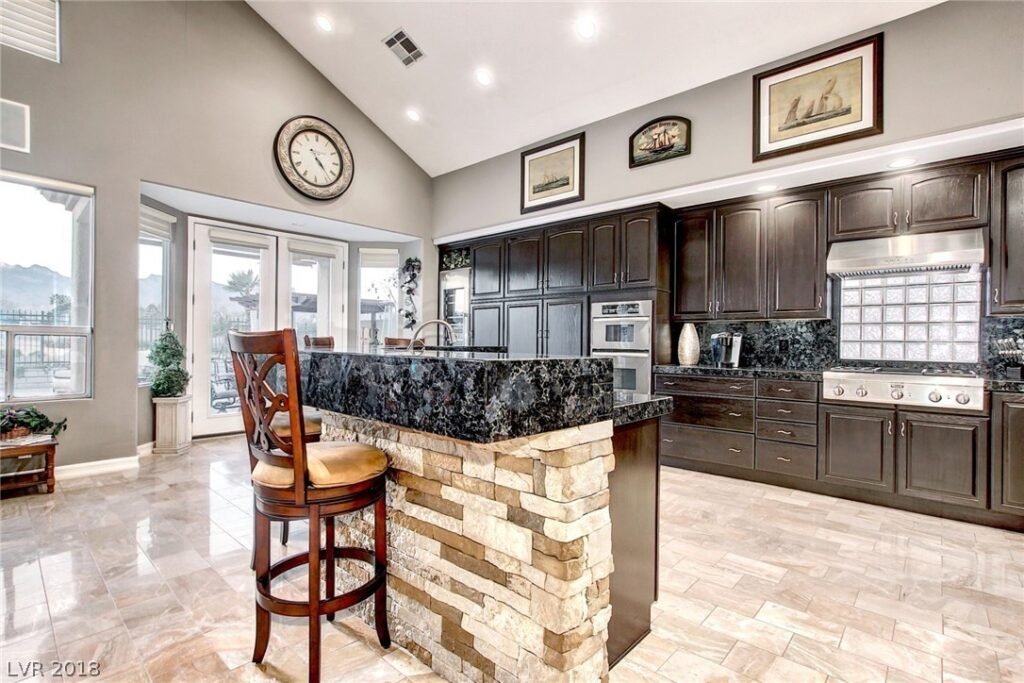
- Choose between bright white granite countertops for an airy look or deep black granite countertops for striking contrast.
- Consider full-height granite backsplash designs to minimize grout lines and create a seamless, luxury feel.
- Focus on pairing granite with cabinet colors that complement the stone’s undertones—crisp white, warm woods, or modern greys all play differently with each slab.
Granite Countertop Cost, Buying Tips, and Aardwolf Solutions
Granite countertop cost and where to buy
Granite countertop cost varies based on:
- Rarity and origin of the stone
- Thickness and finish
- Edge profiles and cut-outs
- Local fabrication and installation rates
You can explore:
- Local fabricators and stone yards
- Wholesale granite suppliers (perfect for hand-selecting unique slabs)
- Retailers offering affordable granite countertop options in popular colors and patterns
Aardwolf granite: from slab to finished kitchen
To take your restoration or renovation to the next level, consider how Aardwolf fits into the picture:
- The Aardwolf granite countertop collection offers a curated range of stones selected for strength, beauty, and consistency.
- Aardwolf premium granite slabs give you reliable, high-quality material that looks stunning when restored or newly installed.
- With Aardwolf granite installation services, you get professional templating, cutting, edge finishing, and on-site installation, plus proper initial sealing.
- The Aardwolf granite pricing guide helps you compare options across budgets and choose from the best Aardwolf granite colors for your cabinets, floors, and backsplash.
Whether you’re refreshing existing tops or adding a new island, these services help your granite perform at its best for years.
Final Thoughts: Bringing Your Granite Countertops Back to Life
Restoring granite isn’t about magic—it’s about method:
- Deep-clean to reveal the real condition of the stone.
- Use targeted techniques for removing stains from granite (coffee, Sharpie, superglue, soap scum, and more).
- Repair chips in granite so edges look smooth and finished.
- Polish granite surfaces to revive depth, color, and shine.
- Seal granite to protect against future stains and make cleaning easier.