
Sealing granite countertops the right way keeps your kitchen and bath surfaces looking crisp, stain-resistant, and easy to clean. This complete guide explains when you should seal, which sealer to choose, and exactly how to apply it—without haze, streaks, or residue. You’ll also find pro tips for polished vs. honed finishes, light vs. dark colors, and high-traffic areas like sinks and cooktops.

Why Sealing Granite Matters
Granite stone is a tough, natural surface made of interlocking minerals (quartz, feldspar, mica). Even the densest varieties have microscopic pores. A quality impregnating sealer fills those pores so liquids don’t soak in and cause stains. The benefit shows up every day:
- Easier cleaning (especially for oil, coffee, wine, makeup, and sunscreen)
- Better hygiene because spills wipe off the surface instead of wicking inside
- Long-lasting shine—less etching and fewer “dark rings” from water or oil
- Lower maintenance for busy families wanting low-maintenance granite countertops
Want a daily hygiene routine that protects your sealer? See stone-safe sanitizing tips here: Can you use Lysol® wipes on granite?, How to disinfect granite countertops, and How to sanitize granite countertops daily.
How Often Should You Seal Granite?
Frequency depends on the granite’s porosity, finish, color, and how you use the space.
- Dense, dark granites (many black granite countertops): every 2–3+ years
- Light or more porous granites (many white granite countertops): every 6–18 months
- Honed or leathered finishes: often need sealing more frequently than polished
- High-splash zones (around the sink/cooktop): test more often
The 60-Second “Water-Drop Test”
- Clean and dry a small area.
- Add a teaspoon of water.
- Watch for darkening.
- Darkens in 1–5 minutes: reseal soon.
- Darkens in 10–15 minutes: plan to reseal within a few months.
- No change after 30 minutes: you’re protected for now.
Choosing the Right Granite Sealer
Penetrating (Impregnating) Sealer (Recommended)
- Soaks into pores, forming an oil- and water-repellent barrier below the surface.
- Keeps the natural look on polished, honed, leathered, or flamed finishes.
- Available in water-based (low odor, easy cleanup) and solvent-based (often deeper penetration; stronger odor—ventilate well).
Enhancing Sealer (Optional, for Specific Looks)
- Deepens color and brings out movement—popular on leathered/honed stones.
- Note: enhancement is permanent until the stone is refinished; test first.
Important Label Checks
- “Safe for granite/natural stone”
- Oil and water repellency
- VOC content and ventilation guidance
- Dwell time and cure time
Tools & Supplies
- pH-neutral stone cleaner and two clean microfiber cloths
- Painter’s tape (protect walls/wood)
- Nitrile gloves; eye protection; if solvent-based, open windows and use fans
- Soft foam applicator pad or microfiber applicator towel
- Penetrating granite sealer (1 quart typically covers ~150–250 sq ft per coat)
- Lint-free buffing towels
Moving or installing heavy tops? Use professional gear to keep slab edges safe and your seal intact. Explore pro-grade handling solutions at Toolrange.
Step-by-Step: How to Seal Granite Countertops
1) Deep-Clean & Dry (10–20 minutes)
- Spray a pH-neutral stone cleaner to remove grease, soap film, and food residues.
- Wipe with microfiber; rinse with clean water; buff dry.
- Let the surface air-dry 30–60 minutes so moisture doesn’t block penetration.
2) Protect Surroundings
- Tape the underside of cabinets, walls, and exposed wood.
- Clear the deck: small appliances, soap dispensers, décor.
3) Test in an Inconspicuous Spot
- Apply a small amount per label directions.
- Confirm no color shift (unless you’re using an enhancing sealer on purpose).
4) Apply the Sealer (Thin, Even, Wet Coat)
- Working in 2–3 ft sections, flood the surface lightly so it looks uniformly wet.
- Use overlapping passes; massage into the stone, especially seams and sink edges.
- Keep the surface wet with sealer for the full dwell time (usually 5–15 minutes). Add a few drops if it dries in spots—dry areas indicate high porosity.
5) Wipe Off Excess Before It Dries
- After dwell time, remove all residue with a clean microfiber towel.
- Buff until the surface looks evenly dry. Any leftover sealer can cause haze.
6) Apply a Second Coat (If Needed)
- Many tops benefit from 2 coats, especially white/honed/leathered granite or high-traffic islands.
- Wait the label’s re-coat interval (often 10–30 minutes) and repeat Steps 4–5.
7) Cure Time
- Light use after a few hours is typically fine, but avoid water/oil for 24 hours.
- Full cure often takes 24–72 hours; check your product label.
Daily cleaning & sanitizing after sealing? Stick to stone-safe methods: How to sanitize granite countertops daily and this follow-up routine: Daily sanitize—version 2.
Special Cases & Pro Tips
Around Sinks & Cooktops
- These zones see the most spills and steam. Add a third, targeted coat at the sink rail and faucet base for superior resistance.
- Run a thin bead of sealer along seams and cutouts; wipe dry promptly.
Polished vs. Honed/Leathered Granite
- Polished: easiest to buff streak-free; ensure every trace of excess is removed.
- Honed/Leathered: more absorbent; expect at least 2 coats. Use an enhancing sealer only if you want richer color.
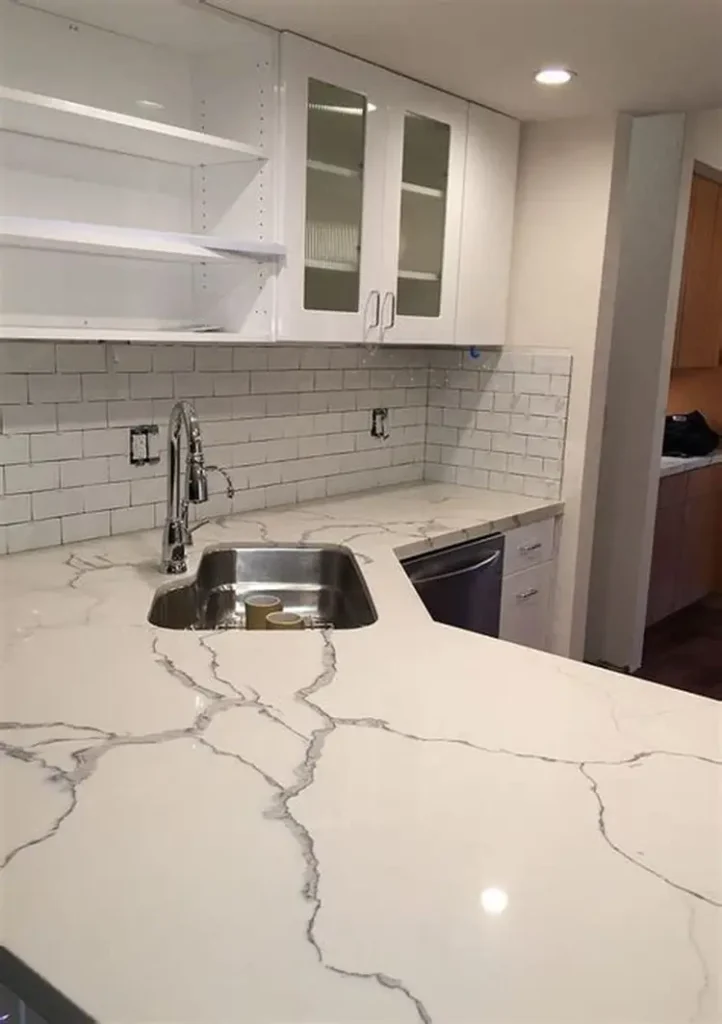
White vs. Black Granite Countertops
- White granite countertops: more likely to show oil stains—prioritize oil-repellent sealers and thorough dwell time.
- Black granite countertops: some varieties are so dense they need less frequent sealing; always perform the water-drop test first.
Bathrooms & Vanity Tops
- Cosmetics and personal care products can be acidic or oily. Seal edges near sinks and around fixtures with extra attention, and wipe splashes promptly.
What Not to Do (Common Mistakes)
- Don’t seal dirty counters. Residue gets “locked in,” causing cloudy patches.
- Don’t let sealer dry on the surface. Wipe/buff all excess before it flashes.
- Don’t mix chemistries. Stick with one brand/type per session.
- Don’t use bleach, vinegar, or high-alkaline degreasers for daily care; they can degrade the sealer over time.
If you need periodic disinfection (after handling raw meat, etc.), use a stone-safe approach: pH-neutral clean → quick water rinse → 70% isopropyl alcohol with short dwell → water wipe → dry buff. More here: How to disinfect granite countertops.
Granite vs. Quartz: Do Both Need Sealing?
- Granite (natural stone): typically needs sealing on a schedule based on porosity and use.
- Quartz (engineered stone): does not need sealing; in fact, many sealers won’t bond properly to quartz. This is a key difference in the granite vs quartz countertops debate about maintenance.
If you’re comparing surfaces for a remodel, factor in both granite countertop cost (including sealing) and your preference for natural vs. engineered stone.
Care & Maintenance After Sealing
- Daily cleaning: pH-neutral stone cleaner or mild dish soap + water; rinse and buff dry for that crisp, polished look.
- Weekly detailing: focus on backsplashes, seams, faucet bases—typical stain hotspots.
- Quarterly check: run the 60-second water-drop test in splash zones to decide if it’s time for a refresh.
If you’re shopping, ask wholesale granite suppliers or your local showroom about Aardwolf premium granite slabs, finishes, and porosity ratings. Choosing a denser stone can extend the time between sealing cycles for affordable granite countertop options with minimal maintenance.
Troubleshooting: Haze, Streaks, and Stains
- Haze after sealing: You likely left residue on the surface. Re-wet the area with a small amount of the same sealer, then wipe and buff thoroughly.
- Oily dark spot: Apply a stone poultice designed for oil stains; follow with a fresh seal once the area fully dries.
- Etch-like dull mark: True etching is rare on granite compared to marble; often it’s detergent film. Deep-clean with a stone soap scum remover labeled safe for granite, rinse, and buff.
FAQs
Do black granite countertops need sealing?
Many dense blacks repel water well, but oils can still mark the surface. Do the water-drop test; if oil or colored liquids darken the stone quickly, seal.
Can I cook on sealed granite right away?
Allow full cure (often 24–72 hours). Use trivets and cutting boards—sealed or not, that’s best practice for all natural stone countertops.
Will sealing change the color?
A standard impregnator should not change appearance. Enhancing sealers will deepen tone—test in a hidden spot first.
Quick Reference: The Perfect Sealing Day
- Clean (pH-neutral) → rinse → dry
- Tape edges; ventilate if solvent-based
- Test in a discreet corner
- Apply thin, even coat; keep wet for dwell time
- Wipe off all excess; buff dry
- Repeat for a second coat where needed
- Cure 24–72 hours before heavy use
Helpful Resources
- Daily & deep hygiene for sealed stone:
How to disinfect granite countertops
How to sanitize granite countertops daily - Safety & handling for stone projects and remodels:
Toolrange
Sealing your granite countertops isn’t complicated—it’s all about clean prep, even application, correct dwell and wipe-off, and a proper cure. Do that, and you’ll protect the natural beauty of your white granite countertops, black granite countertops, and everything in between—keeping your kitchen and bath surfaces bright, resilient, and truly low-maintenance for years.